Home » Products » Plastic Solar Powered Pavement Marker B1
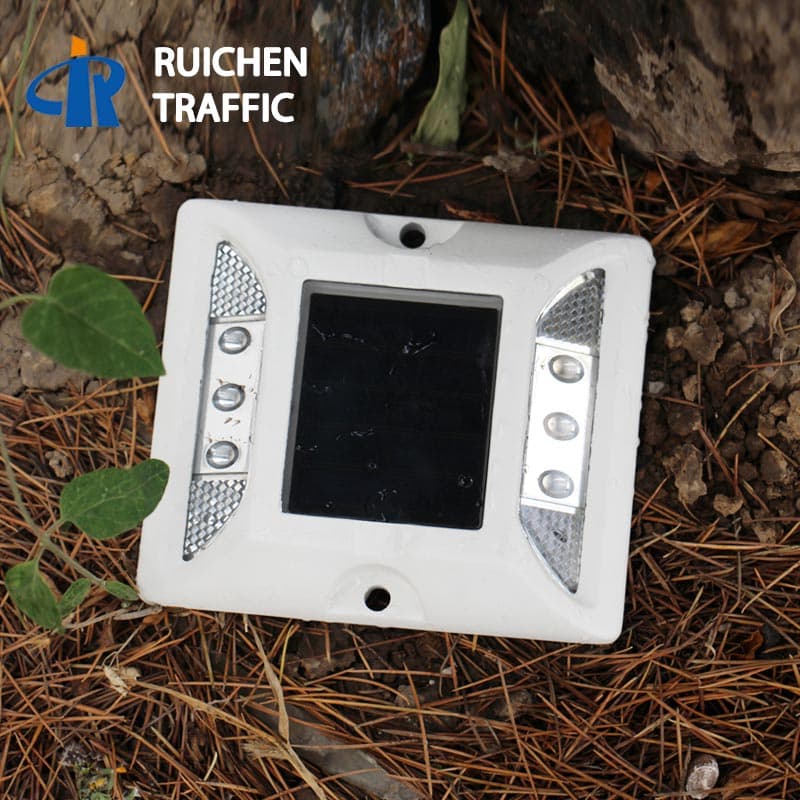
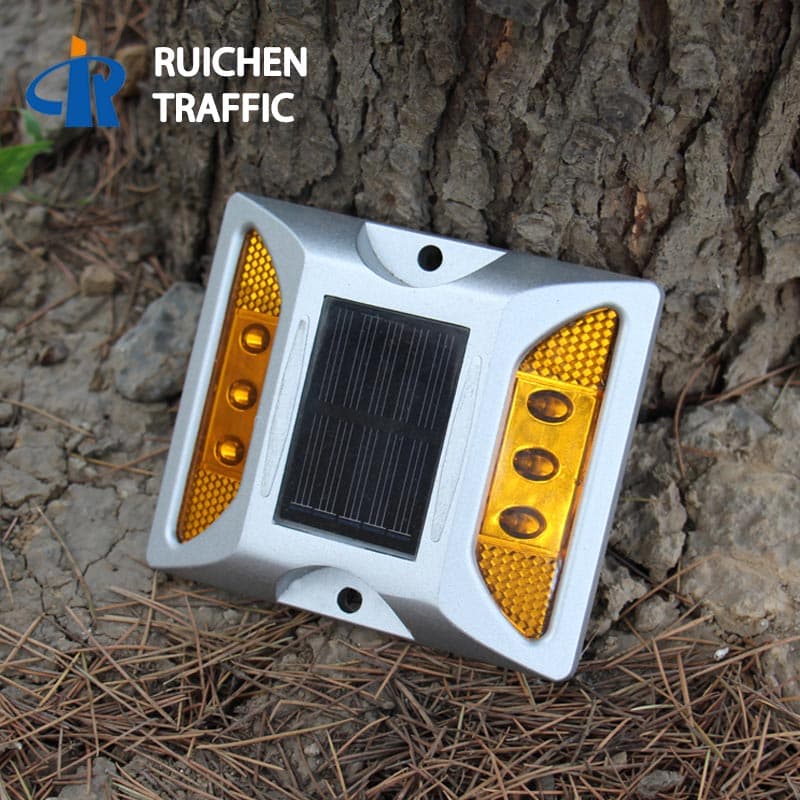
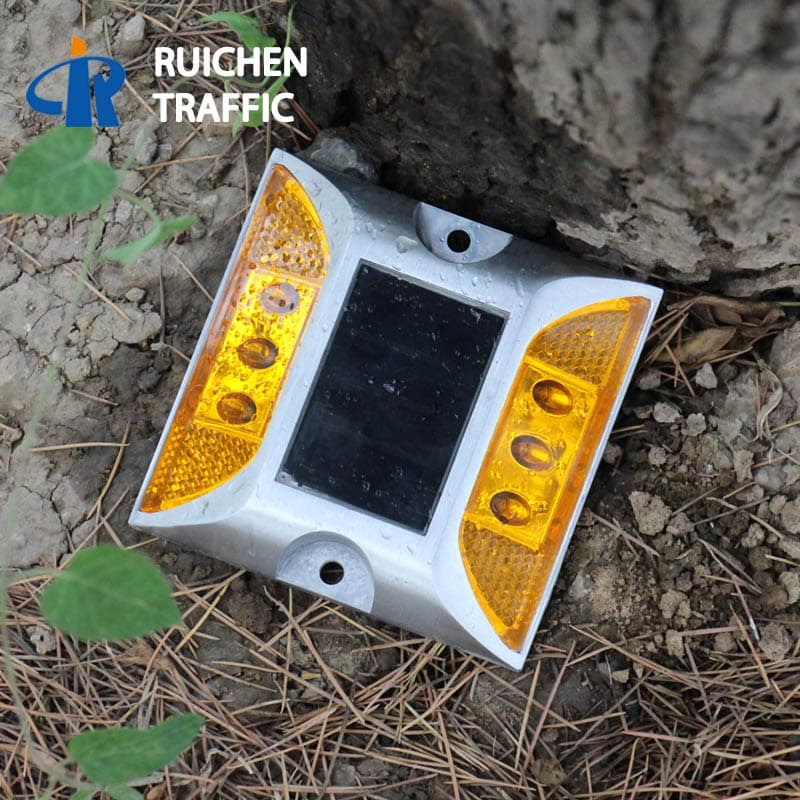
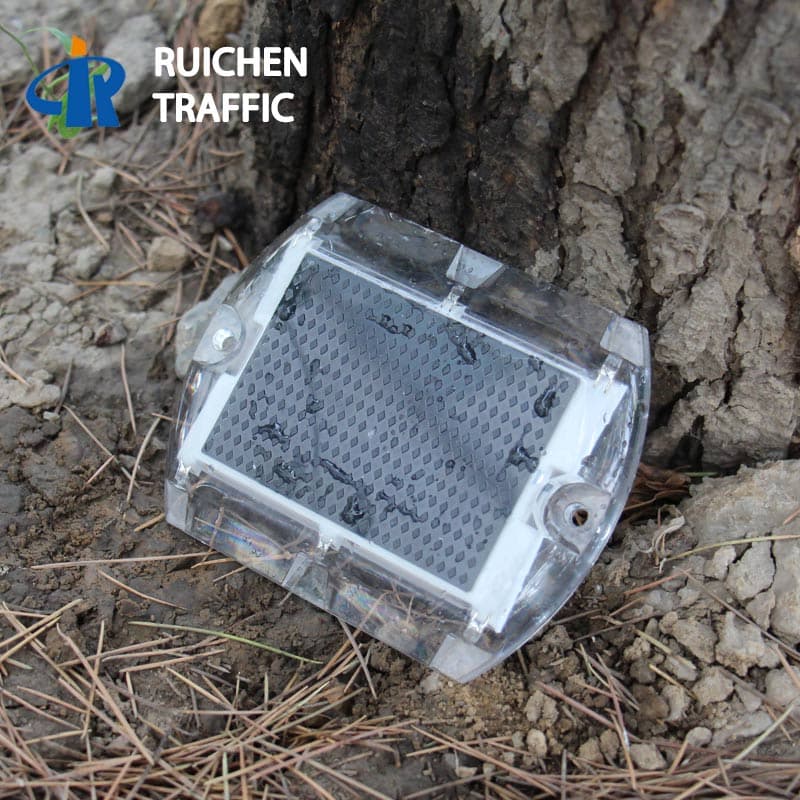
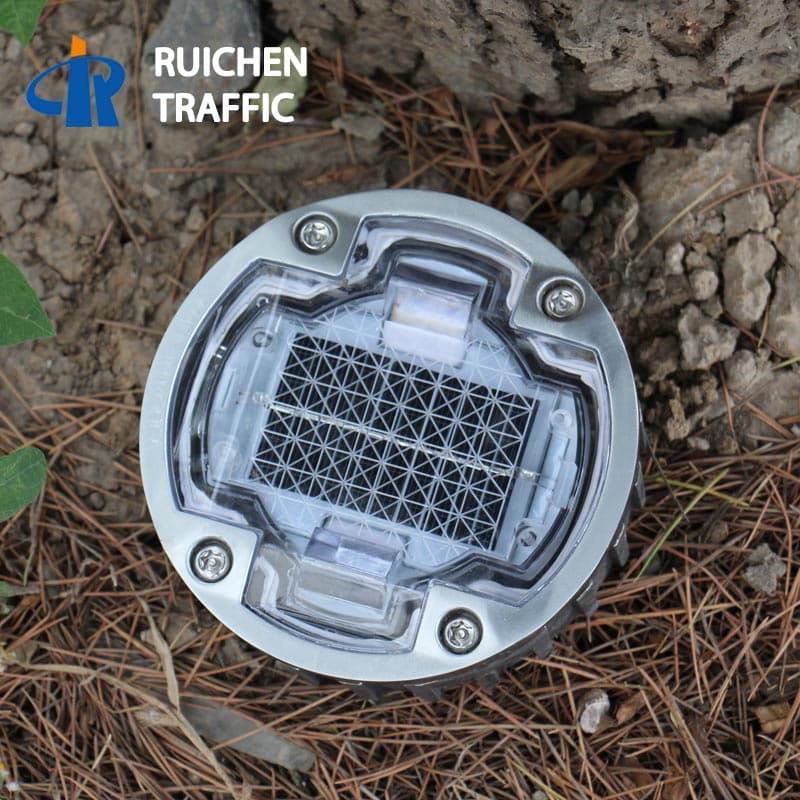
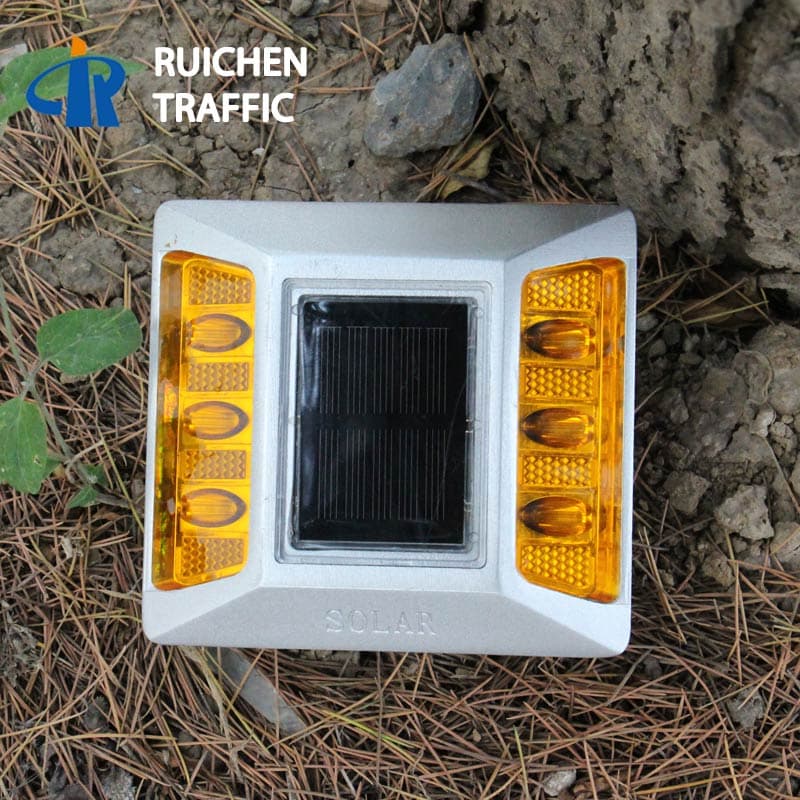
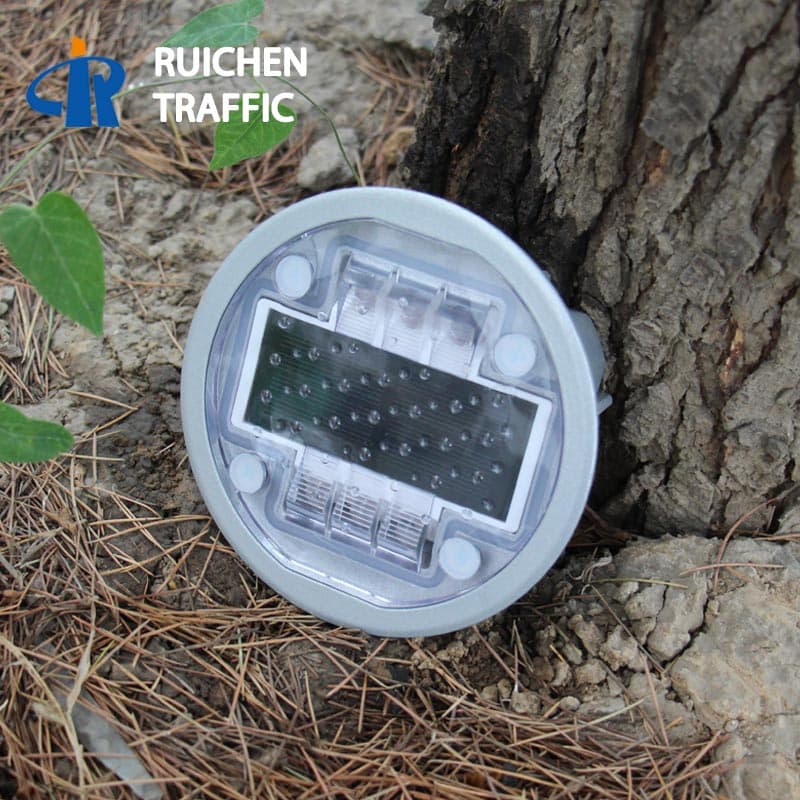
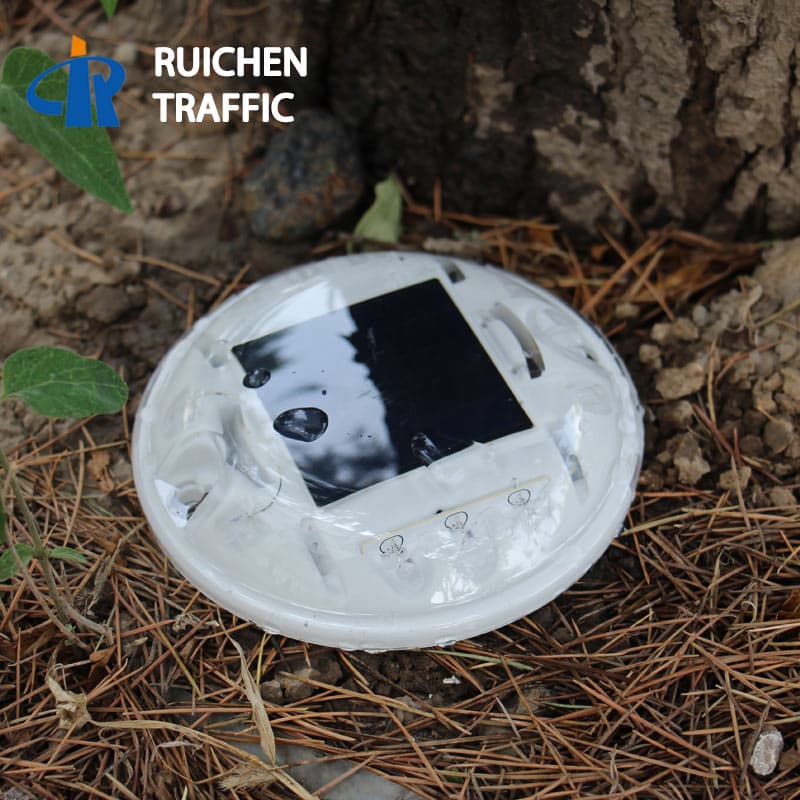
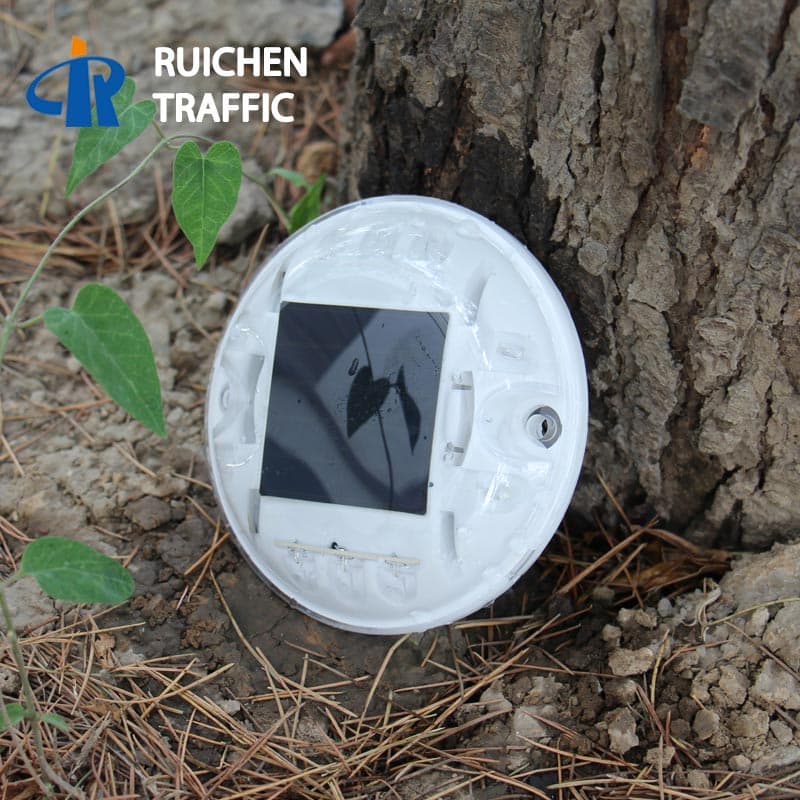
Plastic Solar Powered Pavement Marker B1
Body material: PC(Japan Brand)
Warranty: 12 Months
Power supply: USA Brand Flexible High Efficient Solar Panel 5V/0.4W
Visual distance: > 800m
Load Bearing: 20 Tons
Working Mode: Flashing or Constant
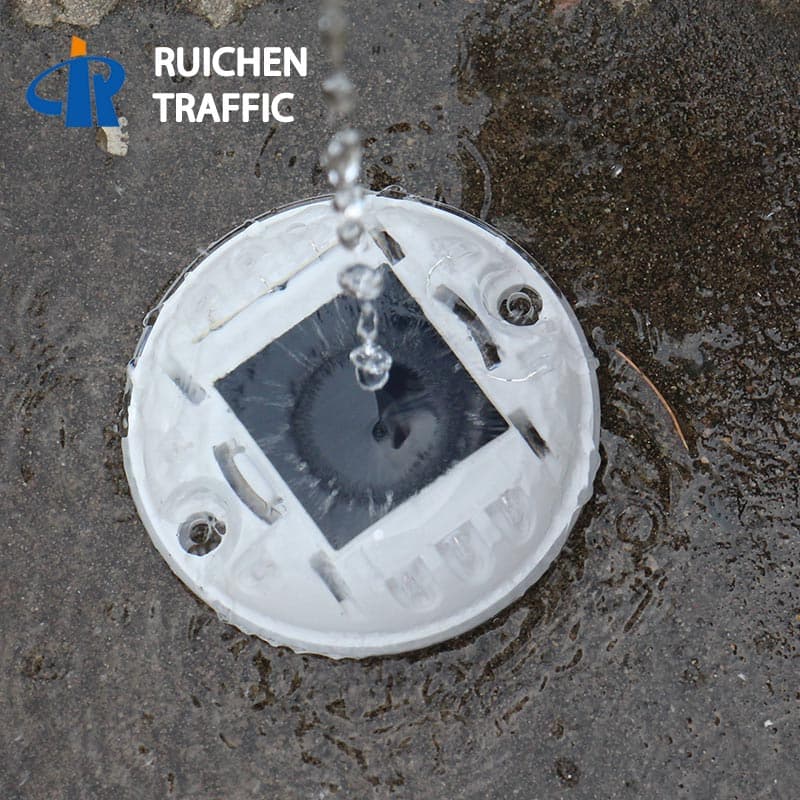
Waterproof: IP68
Shank: Without shank
Determine the installation location and distance, clean the surface of the solar-powered pavement marker, and ensure that the solar pavement marker are installed on a flat road surface.
Clean the bottom of the solar-powered pavement marker and apply the epoxy glue evenly to the back of the stud.
Press the side with glue on the road, secure the position, wait for the glue to dry out.
Check within 2 hours of installation to ensure that all solar-powered pavement markers are properly installed and do not bend or deform due to compression.
Please evacuate the installation isolation facility 6-8 hours after installing the solar-powered pavement marker.

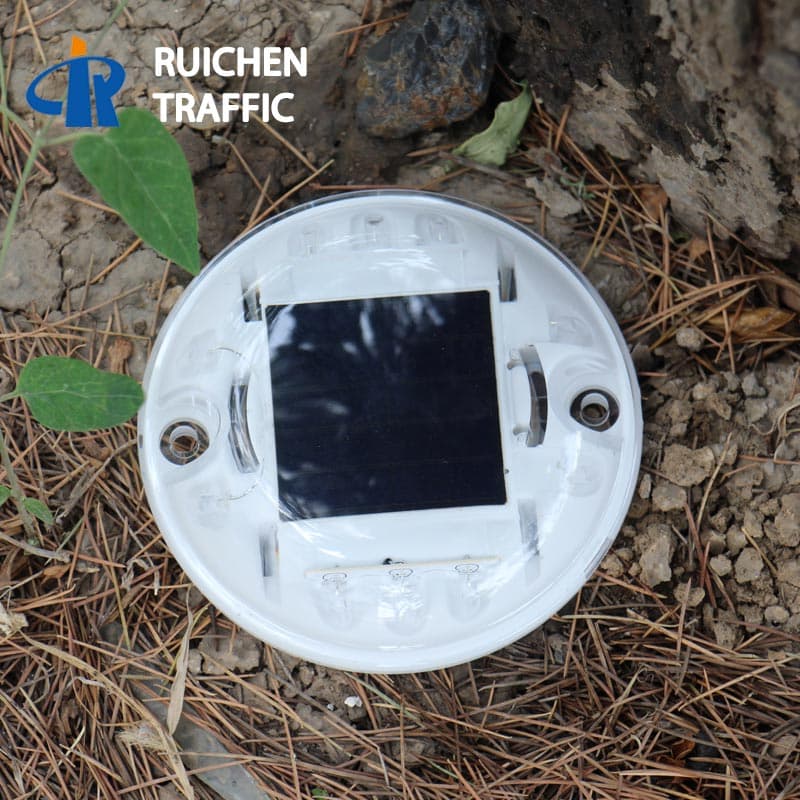
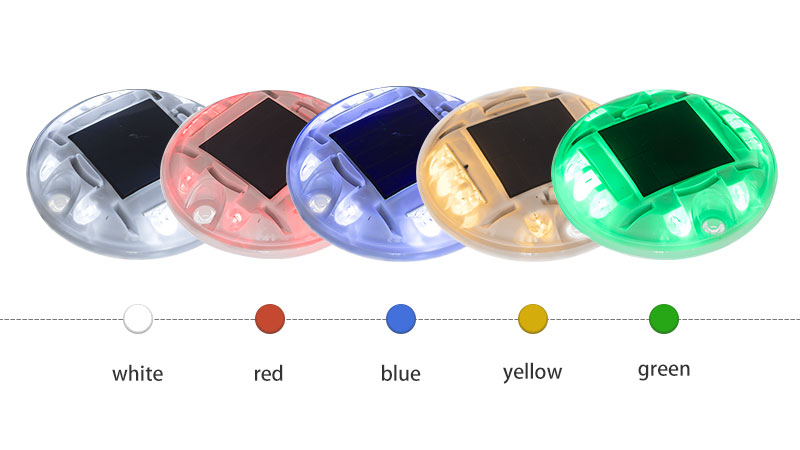 Five colors for choice: White, Amber, Red, Blue, Green